Installing OpenMediaVault to an ODroid M1
Special thanks to Keith Matthews who pointed out trying to install over the top of the ODroid base image.
With the global pandemic, the supply chain for microchips (among other things) has gotten thrown all out of balance. Devices that would normally be incredibly cheap and easy to source are now facing huge markups, long shipping times, and a tendency to be out of stock when you need them. The Raspberry Pi being one of these examples.
Luckily, alternative single-board computers (SBC) are available, many of which for…we’ll say acceptable (if not reasonable) costs. One such board being the ODroid M1, a device which not only has a decent amount of memory (4GB or 8GB), but also a built-in M.2 slot for blazing fast storage capabilities.
With this in mind, and some fun projects planned ahead, I went ahead and bought my own ODroid M1 from ameriDroid, but ran into quite the snag. I couldn’t figure out how to actually get the dang thing running what I wanted it to. After a journey comparable to Frodo’s trip to Mordor, I finally figured it out with some help from my own fellowship of the ring SBC.
What you’ll need
All of these links are for reference only, you do not necessarily need these exact parts, nor to use these specific vendors.
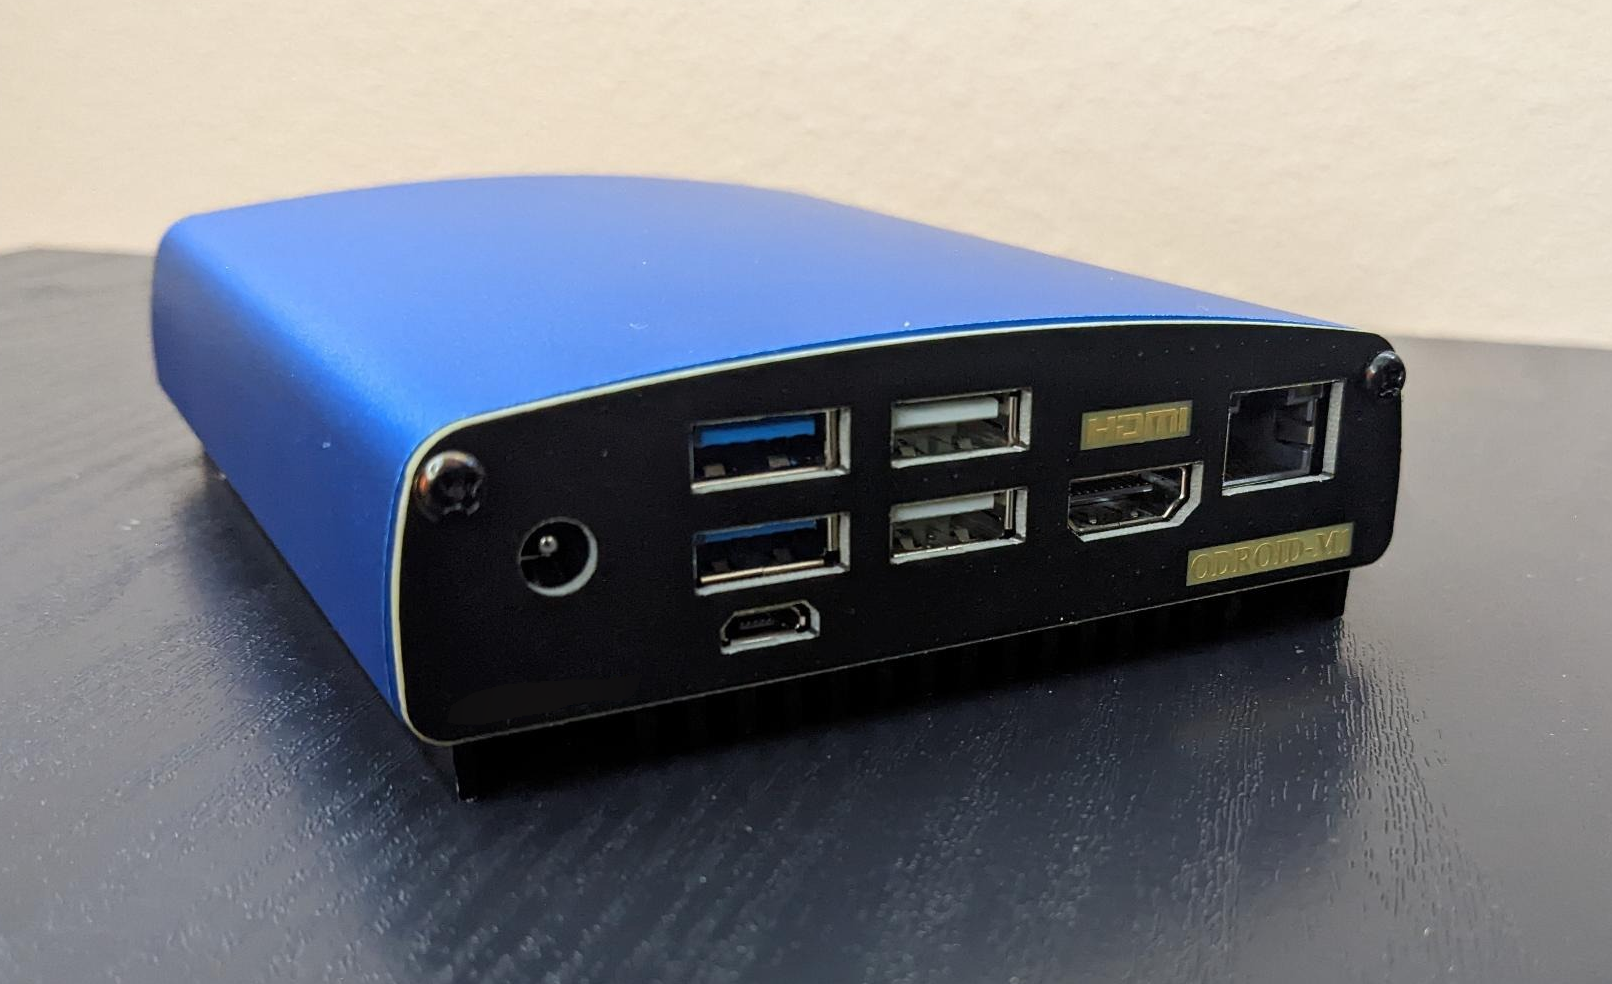
- ODroid M1
- ODroid M1 (8GB) - $99.95
- ODroid M1 Metal Case - $10.95
- 12volt / 2amp Power Supply - $6.95
- Hard Drive (HDD)
- M.2 HDD (970 EVO Plus - 500GB) - $74.99
- Tools for installation process
- M.2 HDD to USB Enclosure - $54.99
- HDMI Monitor
- HDMI Cable
- USB Keyboard
- Internet connection via Ethernet
- Ethernet Cable
- A computer for formatting the M.2 HDD
Cost per device using above options: $192.84 (plus taxes & shipping)
Preparing the ODroid
This process will step you from pulling things out of the shipping box, to having an OpenMediaVault instance ready to play with.
Formatting the M.2 HDD
To begin, you’ll want to use the vendor provided image of Ubuntu Server to format the blank M.2 HDD. It doesn’t matter which one you use necessarily, as we’ll be overwriting all of the content later in the process. This step is purely to sprinkle the necessary magic fairy dust onto the partitions to make things work.
Steps
- Download the latest Ubuntu Server
.imgfile- At time of writing, this is the latest direct download link: ubuntu-20.04-server-odroidm1-20220531.img.xz
- Insert the M.2 HDD into your M.2 to USB Enclosure
- Plug the Enclosure into your computer
- Using your system’s disk manager, format the HDD using the Ubuntu Server image above
- For example, using the
Disksutility on Pop! OS, click on the appropriate HDD and use “Restore Partition Image”. - Ensure you’re using the right drive, as this will delete ALL DATA from the selected drive.
- For example, using the
- Once complete, safely eject the HDD Enclosure, and remove it.
- Remove the M.2 HDD from the Enclosure, and install it into your ODroid M1
Installing Debian
Now that we’ve sprinkled the magic fairy dust onto the hard drive, we’ll want to install the actual operating system we’ll be using. For OpenMediaVault, this will be Debian (11 is the latest stable version at time of writing).
Steps
- Plug in the various cables and devices to your ODroid
- Ethernet
- HDMI
- USB Keyboard
- Power up the device by plugging in the power supply
- The device should boot into “Petitboot” by default
- Scroll down to the
Exit to Shelloption, and hit enter - Enable the netboot installer options by typing:
netboot_default
- Return to the previous menu by typing:
exit
- You should now see various netboot installer options, including Debian, choose the latest stable version of Debian (11 at time of writing)
- Follow the guided installation process
- Defaults will be fine for just about everything. Do not bother installing a desktop environment like GNOME, as you will use the web interface for managing the device in the future
- When formatting the drive, I used the entire disk and kept everything in a single partition for simplicity
- Ensure that you use the entire disk, and not the largest free space which is default! Otherwise you will not overwrite the existing Ubuntu Server installation, which will take priority when booting automatically and break things.
- Reboot the device once installation is complete
Installing OpenMediaVault
Now that you’ve installed Debian, it should show up when you boot as an option in Petitboot. The last and final step is to use the installation script to add OpenMediaVault to your ODroid M1.
Steps
- Login to the root user
- Add your normal user to the sudoers group:
usermod -aG sudo <username here>(do not include the<>)
- Logout
- Login to the normal user and run the following two commands:
sudo apt install curlsudo curl -sSL https://github.com/OpenMediaVault-Plugin-Developers/installScript/raw/master/install | sudo bash
- This process will take a while, once complete reboot the device:
sudo reboot- If the reboot fails due to boot partition corruption, there is a workaround shared by @jaboh:
- Reinstall Debian
- Backup the
/bootdirectory using a rescue OS - Install OMV and required plugins
- Using the rescue OS, restore the backup of the
/bootdirectory from before OMV installation - Reboot
- Done! You should now be able to find the device using your network router and login to it using the web interface.
- For what to do next, you can check out NetworkChuck’s video on OpenMediaVault (start around the 8:28 mark, after OMV installation is done).