How to use a GPG Smartcard for Git and SSH
A guide on using a GPG compatible SmartCard such as the NitroKey or YubiKey for Git and SSH.
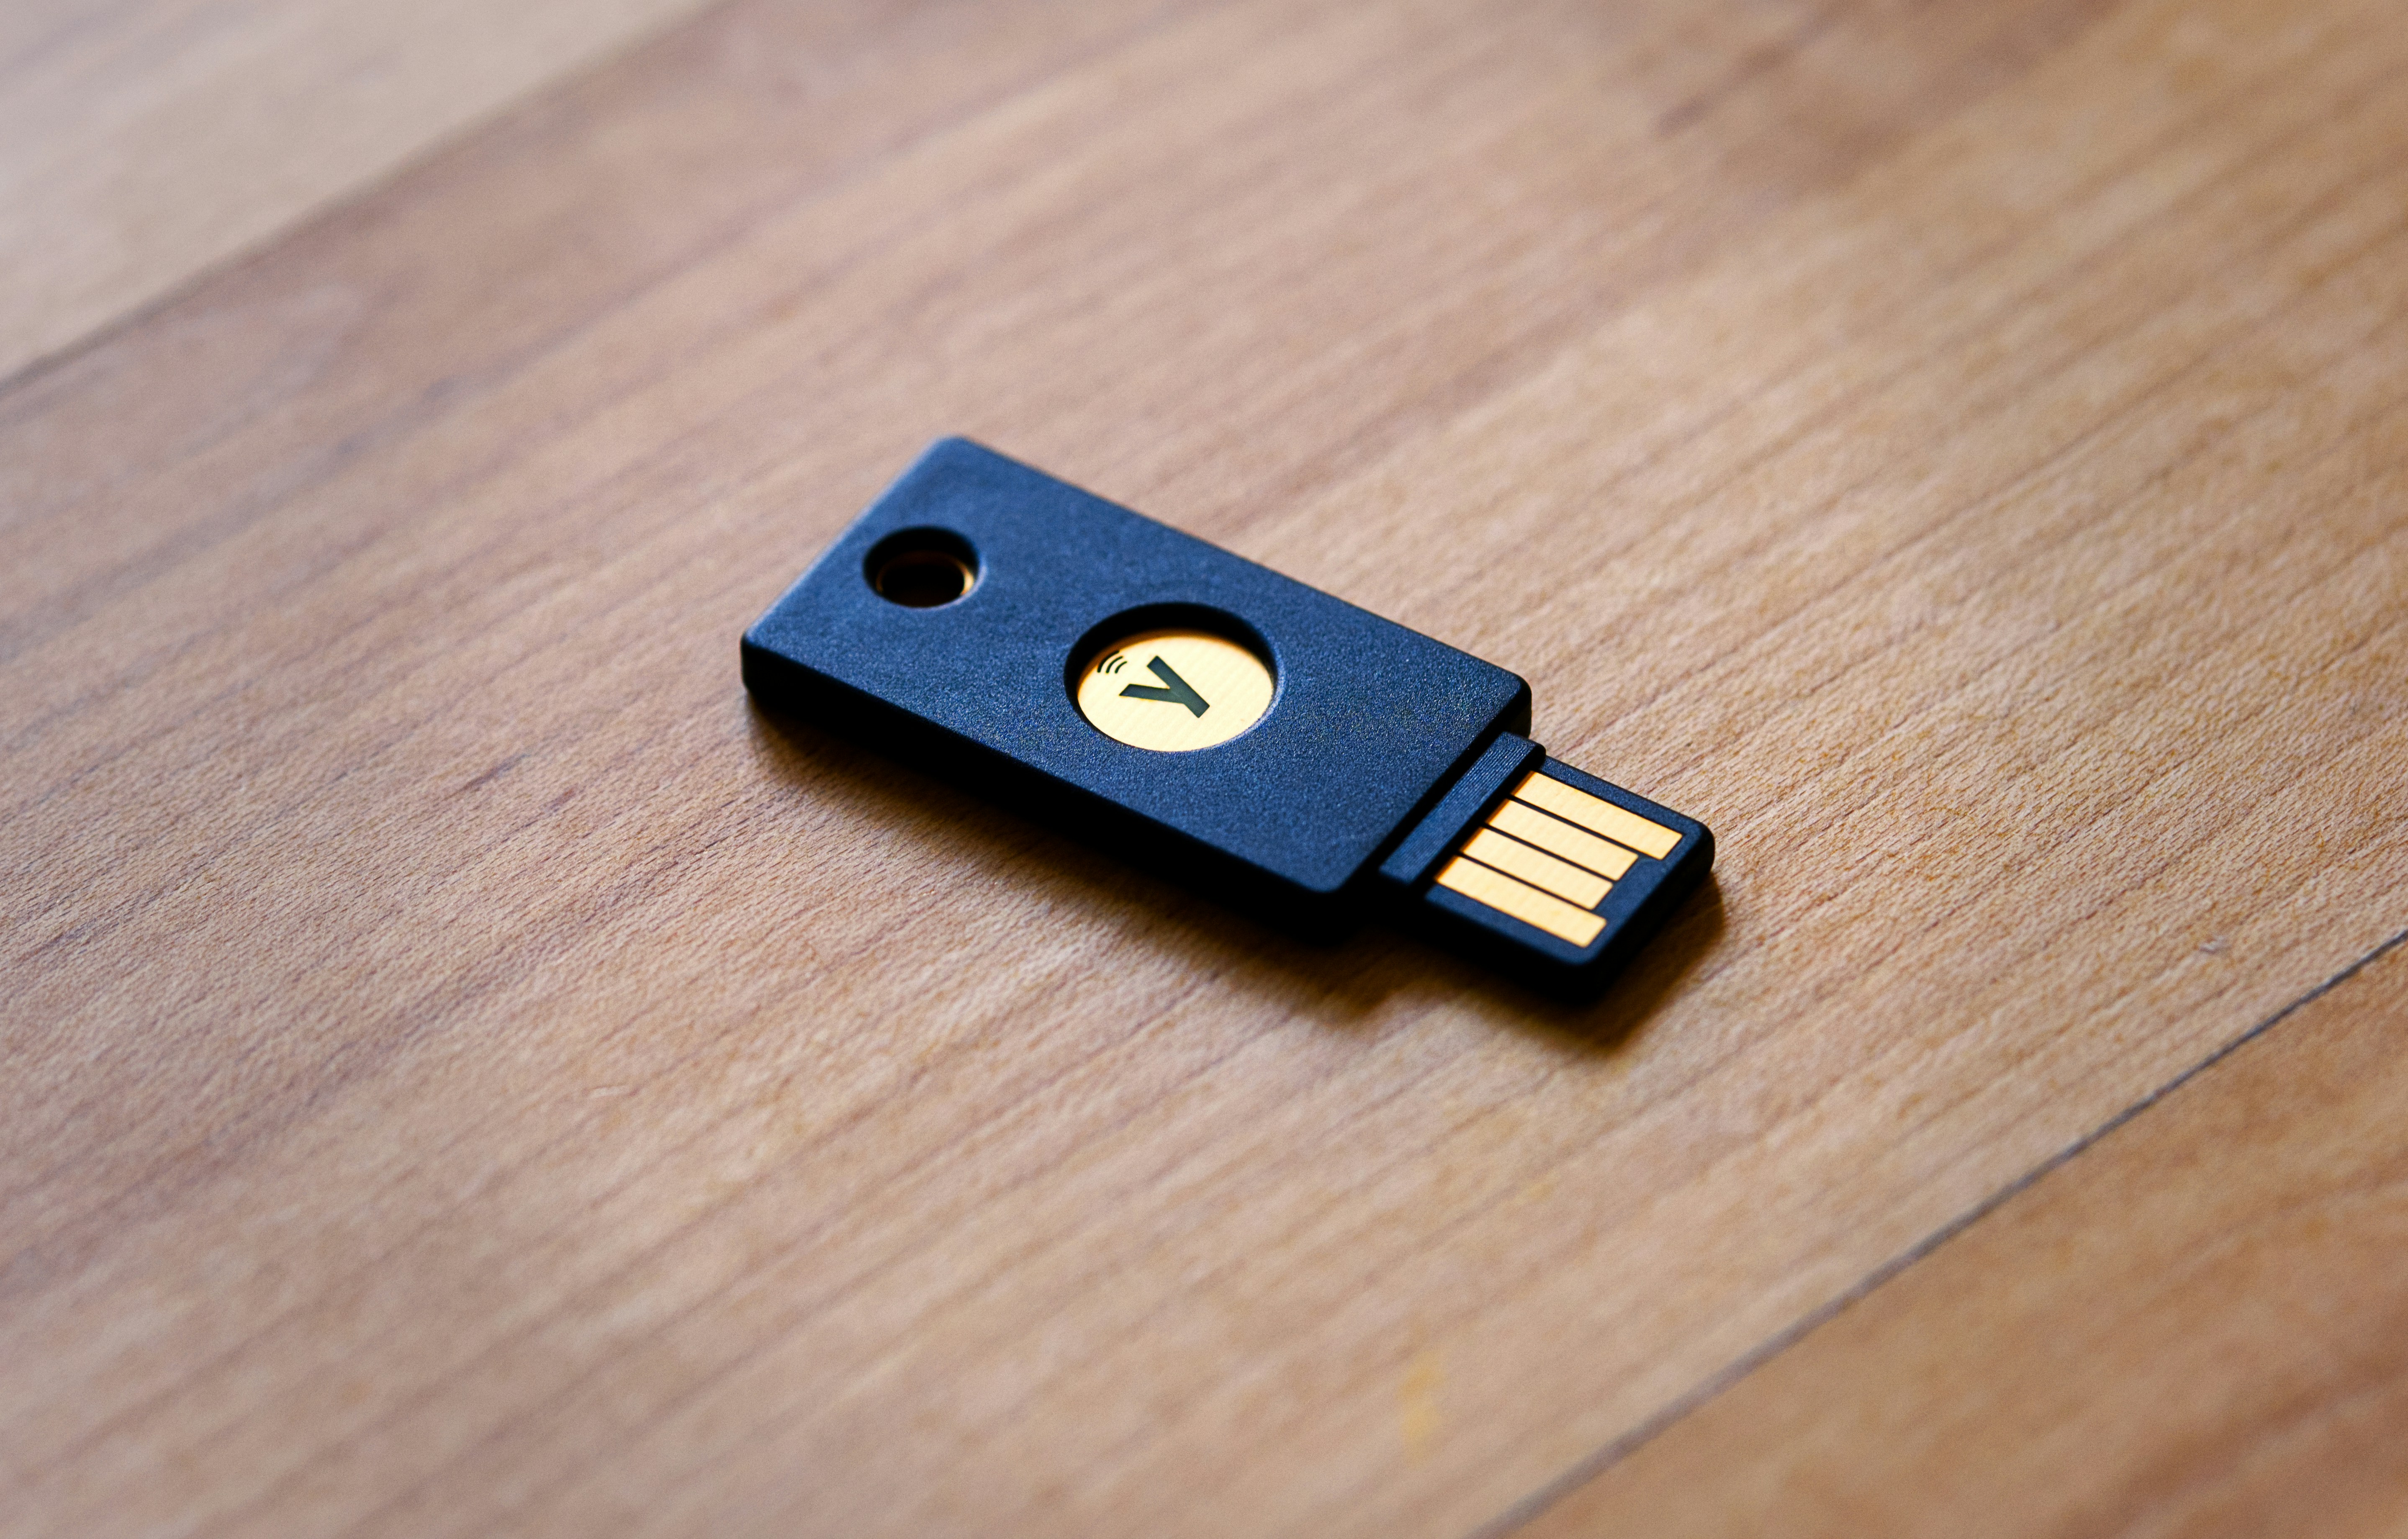
This guide assumes that you are using a YubiKey and NixOS, but should largely be reusable for other SmartCards and Linux Operating Systems.
Due to current limitations, you cannot have multiple SmartCards that all work simultaneously using the same keys. You can however copy the backed up keys to a new SmartCard, and only need to change the configuration on your client device(s), not any servers. This is because GPG will look for the serial number of the SmartCard when completing operations, which will only ever point to one card at a time. Also, the stubs created will be unique for each SmartCard despite using the same underlying keys. At time of writing, there are no reasonable workarounds for this issue.
References
- Using GPG with Smart Cards - Erraticbits
- Quick GPG Smartcard Guide - Ageis (GitHub Gist)
- How to enable SSH access using a GPG key for authentication - Red Hat
- GPG - SSH setup - Mattia Cattarinussi (GitHub Gist)
- Setting up GnuPG + Yubikey on NixOS for SSH authentication
Requirements
- A computer to perform the key generation and SmartCard setup
- A SmartCard that is GPG compatible
- A USB Storage Device to be used for backing up the GPG secret keys
Steps
Configure computer for setup process
Select a computer that you would like to use for generating the secret keys and uploading them to your SmartCard(s). This should be a secure computer that you trust and personally control.
Using a live boot operating system during this process may reduce the risk of your secret keys being cached on disk and later retrieved by an attacker, but is not necessary to follow this guide. Likewise, having a computer with hardware kill switches for networking, or removing the networking equipment during key generation and upload may also reduce the chances of the keys being stolen by an attacker. However, this is almost certainly overkill for the vast majority of people, and simply using a personal device and turning off the network connection via software should be sufficient in most cases.
On that computer, you will need to install GnuPG and enable SmartCard support.
Debian-based
Install the GPG smartcard daemon and enable SSH support for GPG.
1
2
sudo apt install scdaemon -y
echo "enable-ssh-support" | tee -a ~/.gnupg/gpg-agent.conf
Then in your ~/.bashrc (or equivalent file if using another shell, e.g. ~/.zshrc for zsh) add the following to the end of the file:
1
2
export SSH_AUTH_SOCK=$(gpgconf --list-dirs agent-ssh-socket)
gpgconf --launch gpg-agent
You may need to log out and back in to refresh your gpg-agent session.
NixOS
Within your Nix Configuration, add the following:
1
2
3
4
5
6
7
8
9
10
{
  # Install GnuPG with SSH Support
  programs.gnupg.agent = {
    enable = true;
    enableSSHSupport = true;
  };

  # Enable SmartCard udev rules
  hardware.gpgSmartcards.enable = true;
}
Using home manager and Nix Flakes (trust me, you want both if you aren’t using them yet), create a .bashrc file with the following in addition to your other bashrc config:
1
2
export SSH_AUTH_SOCK="/run/user/$UID/gnupg/S.gpg-agent.ssh"
gpgconf --launch gpg-agent
Use home manager to source the .bashrc file (once you’re done following the rest of the setup, you’ll also want to add/uncomment .gitconfig and sshcontrol):
1
2
3
4
5
6
7
8
{

  home.file = {
    ".bashrc".source = ./.bashrc;
    # ".gitconfig".source = ./.gitconfig;
    # ".gnupg/sshcontrol".source = ./sshcontrol;
  };
}
The first half is where the file will be symlinked to within your home folder, while the second half is the relative path where the config lives from the perspective of the home manager nix file. I will go more in-depth on how to configure this in a follow up guide on getting started with NixOS.
Rebuild your system to use the new config.
Generating the GPG keys
Create a temp folder to work from and cd into it:
1
2
mkdir -p ~/temp
cd ~/temp
Generate a passphrase using your Password Manager, and copy it to the clipboard. You’ll need it when generating the main key. You will need this beyond initial setup, so ensure it is saved in your password manager. You may also want to save some time and create a User PIN, Admin PIN, and Unlock PIN. Despite being called PINs, these can contain any characters not just numbers. The User PIN is what you’ll use on a daily basis when making SSH connections or signing git commits. The other three passwords will be used infrequently.
In other words, create a single “SmartCard” entry in your password manager with four passwords:
- GPG Passphrase - Used when importing stubs on new machines
- User PIN - Used on a daily basis for SSH and Git Commits
- Admin PIN - Used when changing SmartCard settings
- Unlock PIN - Used if you accidentally use the incorrect user pin too many times and lock the device
There are some concerns around ECC cryptography potentially having NSA backdoors and being susceptible to future quantum computer attacks. This guide recommends the use of RSA 4096 keys, but check for the currently recommended best practices on GPG keys as they may have changed since time of writing.
Generate the main key (used for signing the subkeys):
1
gpg --expert --full-generate-key
Use the following settings:
4- RSA (sign only)- Keysize -
4096 - Expires -
0(never) Y(confirm key expiration)- Name - Your Name
- Email - gpg@example.com
- Comment (leave blank)
- Ensure you have your desired gpg passphrase copied to your keyboard
O- Okay, continue- Paste gpg passphrase when prompted
This will output the results, and give you a long string after “pub” that is the ID of your gpg key. Copy that gpg id for use in the following command. If you cleared the terminal before seeing it, you can also find the gpg key id at any time by running gpg -k.
Now edit the key you just generated, and add information for ssh and git commits:
1
gpg --edit-key <gpg-id>
Optionally, use the following commands if you have emails specific to SSH and Git Commits that differ from your gpg email:
adduid- SSH Identity- Your Name
- Email - ssh@example.com
adduid- Git Commit Identity- Your Name
- Email - git-commit@example.com
uid 1- Select first UID (GPG identity when you created the main key)primary- Set the selected UID (1) as primarysave
Now generate the subkeys:
1
gpg --expert --edit-key <gpg-id>
- Copy your gpg passphrase again, it’ll prompt you for it when adding subkeys
addkey- Sign Only (e.g. sending and receiving encrypted email)4- RSA (sign only)- Keysize -
4096 - Expires -
0(never) Y(confirm key expiration)Y(really create)- Paste gpg passphrase when prompted
addkey- Encrypt Only (e.g. gpg git commit signing)6- RSA (encrypt only)- Keysize -
4096 - Expires -
0(never) Y(confirm key expiration)Y(really create)- Paste gpg passphrase when prompted
addkey- Authenticate Only (e.g. SSH)8- RSA (custom)S- Disable SigningE- Disable EncryptA- Enable AuthenticateQ- Save- Keysize -
4096 - Expires -
0(never) y(confirm key expiration)y(really create)- Paste gpg passphrase when prompted
save
Generate a revocation certificate in case you lose the smartcard and need to mark your keys as compromised:
1
gpg --gen-revoke <gpg-id> >> ./revoke.asc
- Copy your gpg passphrase again
y- Yes create a revocation certificate1- Reason: Key has been compromised- Optional description - leave blank (just hit enter again)
y- Yes this is okay, generate- Paste gpg passphrase when prompted
Also, create a backup of the original secret keys:
1
2
gpg -a --export-secret-key <gpg-id> >> ./main.key
gpg -a --export-secret-subkeys <gpg-id> >> ./subkeys.key
NOTE: The secret keys will be deleted from your machine when porting them over to the SmartCard. If you want to keep a backup to allow switching to a new SmartCard in the future, it is critical to do this backup before proceeding.
Configuring the SmartCard
Plug in your SmartCard now.
Edit the SmartCard configuration using:
1
gpg --card-edit
NOTE: Because you don’t have the opportunity to copy the new unlock pin after it asks you for the admin pin, I recommend changing the unlock pin before changing the admin pin to avoid needing another device to look at the passwords you generated and typing it manually.
Use the following commands:
adminpasswd1- change PIN (user pin)- Enter current user pin (usually defaults to
123456) - Enter new user pin
- Repeat new user pin
- Enter current user pin (usually defaults to
4- change Unlock PIN- Enter current admin pin (usually defaults to
12345678) - Enter new unlock pin
- Repeat new unlock pin
- Enter current admin pin (usually defaults to
3- change Admin PIN- Enter current admin pin (usually defaults to
12345678) - Enter new admin pin
- Repeat new admin pin
- Enter current admin pin (usually defaults to
q- Quit passwd / Return to main menuname- Your Namelogin- Your Usernamelang- enquit
Now copy the gpg keys from your computer to the SmartCard (this will delete the secret keys from your computer, see above note on backups):
1
gpg --edit-key <gpg-id>
toggle- Enable selecting of subkeyskey 1- Enable sign keykeytocard1(signature key)key 1- Disable sign keykey 2- Enable encrypt keykeytocard2(encrypt key)key 2- Disable encrypt keykey 3- Enable authenticate keykeytocard3(authenticate key)save
The gpg keys have now been automatically deleted and replaced with stubs pointing at your SmartCard. You’ll want to save these stubs for importing on other computers using the following command:
1
gpg -a --output stubs.asc --export-secret-keys <gpg-id>
Configure SSH to use your SmartCard
Grab the keygrip for your authenticate subkey using:
1
gpg --with-keygrip -K
Save it as ~/.gnupg/sshcontrol (or within your NixOS config as sshcontrol and uncomment the relevant home manager line)
Grab your ssh public key via:
1
ssh-add -L
It should look like:
1
ssh-rsa <long string here> (none)
Save this in your password manager, it will be used when adding your public key to ssh servers.
Configure Git to use your SmartCard
Grab the long format ID for your sign only subkey:
1
gpg -K --keyid-format LONG
Add it to your .gitconfig, removing the rsa4096/ first:
1
2
3
4
[user]
  name = "Your Name"
  email = git-commit@example.com
  signingKey = <sign only subkey id in long format>
If using NixOS, uncomment the .gitconfig line in home manager.
Grab your gpg public key for uploading to GitHub or other Git servers:
1
gpg -a --export <gpg-id> > smartcard.pub
Backup GPG files
Plug in your backup USB drive, then open a terminal within your backup USB drive and run:
1
2
3
mkdir -p ./smartcard-backup
cd ./smartcard-backup
cp ~/temp/* ./
NOTE: Do NOT use
mvto move the files. It is more secure to copy, then shred the original in the following step.
Cleanup
1
2
3
4
cd ~/temp
shred -u -z ./*
cd ..
rm -r ~/temp
If you used a live boot USB for following this guide, it would now be wise to securely erase the drive to remove the possibility of recovering the secret keys from a cache that may have been missed.
Adding to GitHub
Use the SSH public key and GPG public key, and add them to your GitHub account.
Now test your SSH keys with:
1
ssh -T git@github.com
If working correctly, it should ask you to plug in your SmartCard if unplugged, then request your User PIN to unlock the SmartCard until unplugged.
If successful, it should output:
1
Hi github-username! You've successfully authenticated, but GitHub does not provide shell access.
You can now test creating a new git commit, and pushing to GitHub. It should show as verified using your GPG key. You can also check this locally via:
1
git log --show-signature
Which should show some lines mentioning gpg and a good signature from your gpg key.
If so, congratulations, you should be good to go!
Setting up a new computer
Follow the same install process at the beginning of the guide on the new computer, and then import the SmartCard stubs with:
1
gpg --import stubs.asc
You will need to edit the stubs to have ultimate trust (defaults to unknown):
1
gpg --edit-key gpg@example.com
Use the following commands:
trust- Set trust level5- Ultimate trusty- Yes, I’m suresave
Log out and back in to refresh gpg-agent session, then insert your SmartCard and use:
1
gpg --card-status
It should tell you about the SmartCard and have your four keys (main, and three subkeys).
Test that things are working by using:
1
ssh-add -L
It should return your SSH public key. If it doesn’t, something went wrong.
Your new computer should now be ready to use!